How to Plant Pumpkins: Seeds, Spacing, and a Good Start
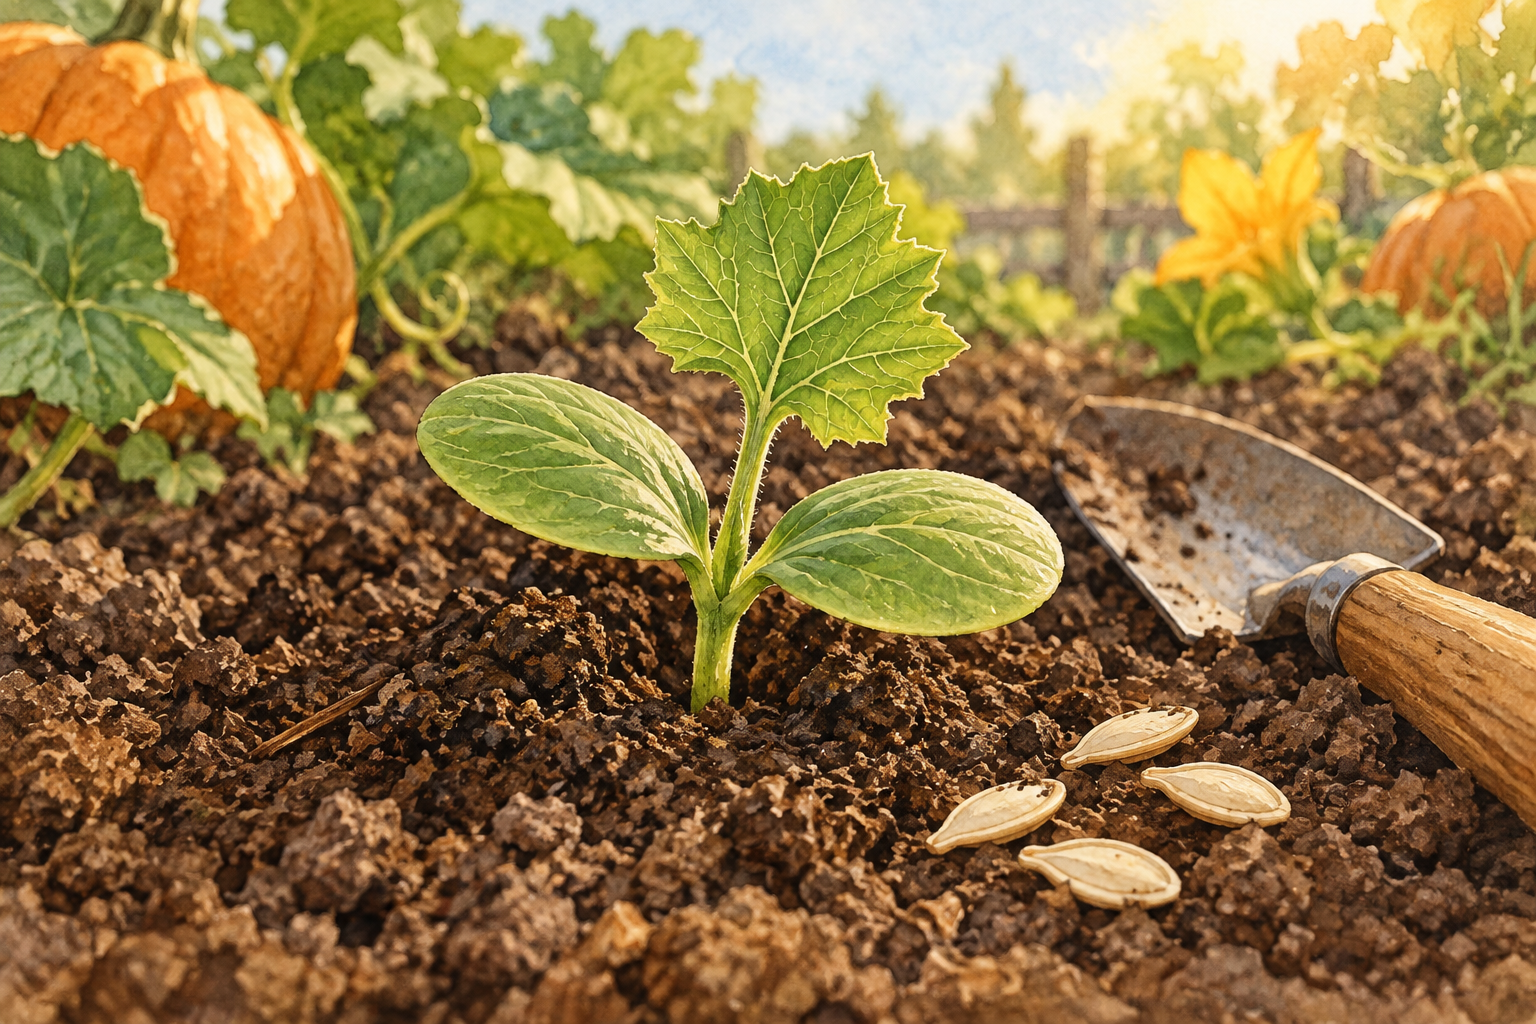
Pumpkins start best in warm, well-drained soil after frost danger has passed. Sow seeds about 1 inch deep, give the variety enough room, and keep the seedbed moist while plants establish. Most planting problems begin with cold soil, crowded vines, or a seedling kept indoors too long.
Before opening the packet, use the growing calendar to check that your variety can ripen before fall cold. A spot that fits the seedling today must also fit the vine in July.
Direct sow or start indoors?
Direct sowing is a sensible first choice when your warm season is long enough. It avoids disturbing pumpkin roots, and you don’t need lights or trays. Wait for soil to be consistently around 65°F or warmer at planting depth, rather than judging by the afternoon air temperature. A short warm spell followed by cold rain is a reason to pause.
Indoor starting can buy a short head start in a cool region. Start about two to three weeks before the date conditions will be safe outdoors, not two to three weeks before an average frost date regardless of soil warmth. Use individual pots, a seed-starting mix, warmth, and strong light. Sow an extra pot or two instead of crowding many seedlings together.
Keep plants young and sturdy. Ease them into outdoor conditions over about a week, then slide the root ball out gently. Set it at its previous depth and water in. If roots have grown through a biodegradable pot, follow its planting directions; exposed rims can wick water away.
Maryland Extension describes short indoor starts and gentle transplanting. Starting earlier is not always better.
Choose sun, drainage, and soil you can water
Find a spot with at least six hours of direct sun; more is helpful where heat and water are manageable. Check where rain collects. Pumpkins need moisture, but a crown sitting in a puddle is a poor start.
Add well-finished compost as appropriate and use a soil test to guide lime or fertilizer. Do not fill a planting hole with concentrated fertilizer or fresh manure. Keep amendments in the root zone without building a rich pocket surrounded by compacted, poorly drained soil.
Water access deserves a place on the sketch. Running a hose across a path every evening gets tiresome quickly. A soaker hose or drip line laid before vines spread makes later care easier.
Give the vines a place to go
Read both plant spacing and row spacing on the packet. Those numbers describe different directions. A “miniature” pumpkin can still have a vigorous vine.
These are example layouts from Illinois Extension, not instructions for every cultivar:
Scroll sideways to compare all columns.
| Growth habit | Example spacing | What to allow for |
|---|---|---|
| Bush | About 3 feet between plants, rows 4–6 feet apart | A broad plant, even without long runners |
| Semi-bush | Hills about 4 feet apart, rows about 8 feet apart | Shorter vines that still need an aisle |
| Vining | Hills 5–6 feet apart, rows 10–15 feet apart | Substantial spreading room; follow the packet’s thinning directions |
| Miniature vining | About 2 feet between plants, rows 6–8 feet apart | Small fruit does not make this a windowsill crop |
Choose a bush or semi-bush type if you cannot reserve a route for long vines. The varieties comparison helps distinguish compact plants from small pumpkins. Leave access for weeding and harvest.
Hills, mounds, raised beds, and containers
A hill can mean a planting group on level ground. A low mound is useful where drainage and spring warming are problems; a tall mound in sandy soil may become difficult to keep moist. You do not need a particular mound height to grow a pumpkin.
Raised beds work when roots have enough soil and vines have somewhere to go. One pumpkin should not be expected to share a small bed peacefully with a season’s worth of vegetables. Guide vines out into a clear area while they are young.
Containers are the least forgiving option. Choose a cultivar explicitly described for containers or compact growing, follow its recommended container size, and provide unobstructed drainage. Use potting mix rather than dense garden soil. Even then, expect more frequent moisture checks and appropriate feeding. A small decorative pot is not enough, and a container does not remove the need for pollination.
If space is mostly vertical, use a small-fruited vining variety with a strong trellis and soft fruit slings. Install the support before roots spread. See vine management before relying on a lightweight tomato cage.
Sow, thin, and protect
- Water a dry bed before sowing so moisture reaches below the seed.
- Place seeds about 1 inch deep, or follow the variety’s directions if different. Cover gently and label the spot with the variety and date.
- Keep the seed zone moist without leaving it soggy. Use a gentle flow that will not uncover seeds.
- Once seedlings are established, thin to the packet’s final stand. Snip unwanted seedlings rather than pulling roots through the ones you want to keep.
- Watch new leaves for pest damage. Protect young plants with a suitable row cover where needed, checking heat buildup and allowing room for growth.
Covers must come off for pollination when flowers open unless you are deliberately managing pollination by hand. In a bed that held affected squash the previous year, overwintered vine borers can emerge beneath a cover. Minnesota Extension explains that limitation.
Mistakes that are easy to avoid
Planting to a holiday instead of the soil: a warm weekend does not guarantee a warm seedbed. Check several morning readings.
Keeping every seedling: extra plants compete for light, water, and root space. Thin early, even when every seed germinates.
Starting with old, tangled transplants: pumpkins are fast growers. A smaller, younger plant can settle in more easily.
Buying a giant for a small bed: a fruit-size goal is also a space commitment. Change varieties before trying to solve the problem with repeated pruning.
Watering the surface every day without checking below: lift a little soil with your finger or a trowel. Wet dust over a dry root zone does little good.
A thermometer, labels, and a gentle watering attachment cover much of the first week’s work. The growing-tools guide separates these basics from optional purchases. Once seedlings are growing, use plant care and troubleshooting for watering, feeding, flowers, and damaged leaves.
For the soil-temperature starting point, see Utah State Extension’s pumpkin growing guidance; use it alongside the frost forecast and your seed packet.