Pumpkin Growing Calendar: A Month-by-Month Guide
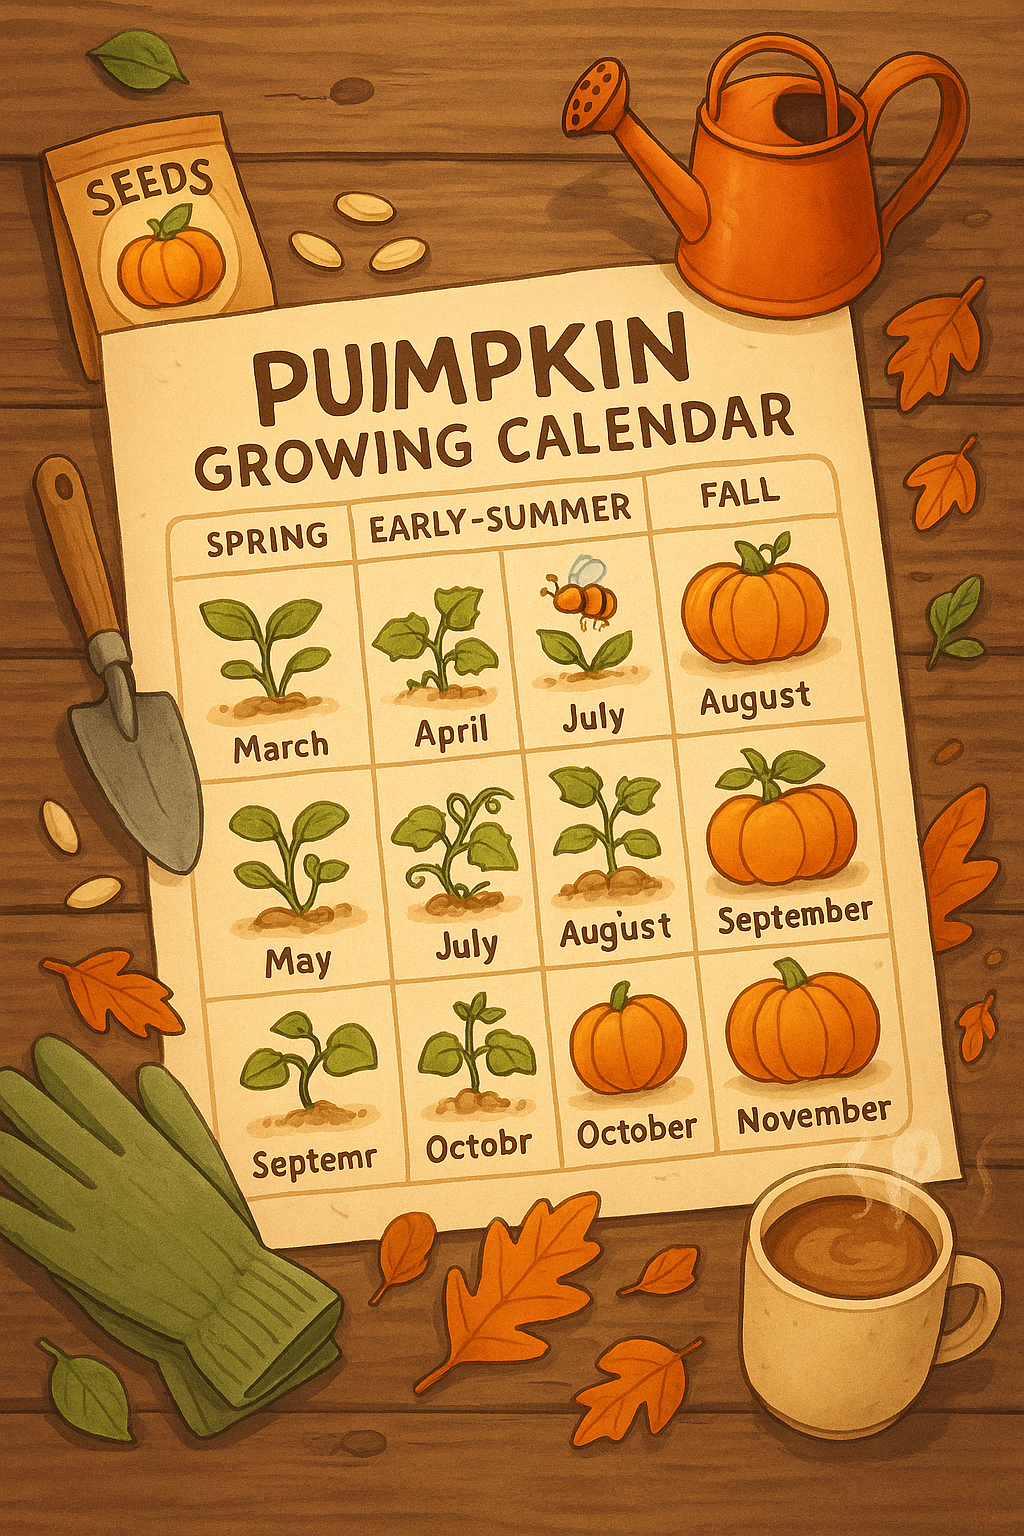
Plant pumpkins after frost danger has passed and the soil is warm, then allow enough time for your variety to mature before autumn cold. The months below are a starting point for a temperate Northern Hemisphere garden. Your local weather gets the final say.
As an Amazon Associate, Pumpkinish earns from qualifying purchases. Shopping links help you compare supplies; they are not claims of personal product testing.
Already near harvest? Go straight to When to Harvest Pumpkins for ripeness, frost, and curing decisions, then Preserving Pumpkin for Year-Round Use for refrigerator and freezer portions. Still planning? Compare pumpkin varieties and check pumpkin-growing tools before shopping.
Set your planting window before following the months
Write down your area’s average last spring frost, first fall frost, and the days to maturity on your seed packet. Frost averages are planning clues, not promises. Check your local extension planting calendar and the forecast before sowing.
For a straightforward outdoor start, wait until soil at sowing depth is consistently around 65°F or warmer, with warmer soil encouraging faster emergence. Take readings in the morning over several days; one sunny afternoon can be misleading. A soil thermometer with an easy-to-read probe is more useful here than another packet of seeds.
Count backward from a realistic harvest date using your variety’s maturity estimate, and leave extra time for slow germination or cool weather. Check whether the supplier counts from sowing or transplanting. Example: for an approximately 100-day direct-sown pumpkin, sowing June 1 points to roughly September 9. A couple of extra weeks give breathing room before an early-October frost. This is a planning example, not a forecast.
If the available warm season is shorter than that window, choose an earlier variety or start a small number of seedlings indoors about two to three weeks before your safe outdoor planting date. Starting months ahead usually leaves you with oversized, root-bound plants.
Adjust for your region
Northern and short-season gardens: soil warmth can arrive well after the last average frost. Choose a maturity estimate that fits the actual warm season. Young transplants and temporary covers can help, but cannot make a long-season giant into an early pumpkin.
Southern gardens: an early spring planting may ripen long before Halloween. Some areas use later sowings for fall harvest, but summer heat, insect pressure, and reliable irrigation become part of the plan. Ask extension about your county’s window rather than copying a northern May date.
Long-season, mild-winter, or hot-dry climates: more frost-free days give you choices, but extreme heat can interrupt fruit set. Time flowering for workable temperatures and water availability. In the Southern Hemisphere, follow the sequence in your local spring through autumn rather than these month names.
Compare pumpkin varieties before committing space; the planting guide explains spacing and sowing in detail.
Spring prep (March–April)
March: choose the patch and the pumpkin
Look for a sunny spot with good drainage and a route for vines that won’t swallow the garden path. Six hours of direct sun is a minimum; a longer sunny day is helpful. A large vining pumpkin needs a very different footprint from a semi-bush pie pumpkin.
Order a named variety for the job: pie, carving, table décor, or a giant display. When comparing pumpkin seed packets, look for the cultivar name, maturity information, growth habit, and a clearly identified seller. A photo of tiny fruit does not mean tiny vines.
Sketch the bed, note what grew there last year, and arrange a soil test. Keep the results; they are a better starting point for feeding than a fixed fertilizer schedule.
April: prepare soil and, if needed, start seeds
Work compost into soil when it is workable, not wet enough to smear into clods. Follow soil-test recommendations for pH and nutrients. Deep annual tilling and extra phosphorus are not automatic requirements.
A gently raised mound can improve drainage and warm sooner in a wet spring. In a dry garden, it can also dry out faster. A “hill” in planting directions may simply mean a group of plants, not a tall pile of soil.
If outdoor planting is two to three weeks away, sow indoors in individual pots under adequate light. Reusable pots are fine if the root ball slides out intact. Biodegradable pots need careful moisture management and should not leave a dry rim sticking above the soil. The growing-tools guide helps you choose supplies without buying a large kit.
Early summer (May–June)
May: sow or transplant when conditions are ready
Sow about 1 inch deep, using the packet’s plant and row spacing. Thin excess seedlings by snipping them at soil level instead of tugging on neighboring roots. Bush, semi-bush, and vining plants need different spacing.
Harden indoor seedlings off gradually over about a week, sheltering them from strong wind and harsh midday sun at first. Transplant at the same depth, keep the root ball intact, and water gently.
A row cover with supporting hoops can protect young plants. Check its temperature rating and ventilate on warm days. Remove it for pollinators when flowering begins; insect mesh is not necessarily frost protection.
June: help roots settle in
Check soil moisture beneath the surface before watering. Aim for an evenly moist root zone, adjusting for rainfall, soil texture, and heat. Water slowly at the base so it reaches roots instead of running off a mound.
Once soil is warm, a loose mulch layer helps slow evaporation and weeds. Keep it away from the crown. Guide flexible young vines toward their allotted space; don’t drag rooted vines back across the bed.
Small-fruited varieties may suit a sturdy trellis with individual fruit slings. Large pumpkins belong on the ground. See watering and vine management if leaves are wilting or the patch is outgrowing its boundaries.
Mid-summer (July): growth and maintenance
Feed according to the soil test, the crop’s stage, and the fertilizer label. More leaves do not always mean more pumpkins. Excess nitrogen can favor vine growth at the expense of fruit; routine weekly foliar feeding and a calendar-based switch to high-phosphorus fertilizer are unnecessary.
Check leaf undersides, crowns, and new growth several times a week. Squash bug eggs, cucumber beetles, and borer damage are easier to address when noticed early. Identify pests and mildew before treating: companion flowers, foil wraps, or a bottle labeled “natural” are not guaranteed controls.
Keep shallow weeding, watering, and observation on the list. A photo of the same leaf a few days apart often tells you more than another application of fertilizer.
Late summer (August): flowering and fruit development
Male flowers usually appear first. Female flowers have a small swollen ovary behind the petals. The gap between them varies with variety and conditions; a few male flowers without fruit are not a failure.
Watch open flowers in the morning. If female flowers are present but bee visits are scarce, hand pollination may help. Remove row covers for bee access and avoid exposing pollinators to sprays.
Keep moisture steady while fruit expands. Gently place a dry board or suitable support beneath a young pumpkin if the ground stays wet, without twisting the stem. Do not rotate attached fruit weekly: the stem can split. Leave healthy foliage to feed and shade the crop. Fruit thinning is a deliberate giant-growing technique, not a rule for every pie or miniature pumpkin.
Fall (September–October)
September: check maturity and watch the forecast
Look for the variety’s mature color, a firm rind, and a hardening stem. White and blue pumpkins need not turn orange. A hollow tap can be an extra observation, but it cannot settle the question on its own.
Continue watering when soil is dry; do not automatically stop for two weeks or strip leaves to expose the fruit. Track the forecast and plan a harvest before freezing weather. A light frost may damage vines even when some fruit survives.
Use the harvest guide’s ripeness checks to decide which fruit is ready and which needs prompt use.
October: cut, cure, and sort
On a dry day, cut with sharp pruners or a suitable harvest knife, leaving roughly 3–4 inches of stem when possible. Wear gloves around prickly stems. Support the pumpkin underneath; its stem is not a carrying handle.
Set sound, mature fruit aside for curing and whole-pumpkin storage. Warm, ventilated conditions for about 7–10 days can help harden the rind. Bring fruit under cover if weather is wet or cold.
After curing, a dry, ventilated space around 50–55°F is a useful target. Store in a single layer with room between fruit, inspect weekly, and use poorer keepers first. Expect weeks to a few months for many pumpkins, with substantial variety and storage differences—not a guaranteed six-month life because a pumpkin is large.
The harvest supplies section covers pruners, gloves, shelves, and ventilated crates. For the kitchen portion of the crop, move on to freezing and preserving pumpkin safely. Carve display pumpkins close to the occasion, and keep them separate from food preparation.
November–February: keep a few useful notes
Record sowing and harvest dates, variety names, weather setbacks, pest problems, and how each pumpkin kept. Save seed only with an understanding of cross-pollination and hybrids; saved seed may not produce the same pumpkin next year. Sketch next season’s rotation and arrange improvements to drainage while the patch is clear.
Your pumpkin-season checklist
Print this page and keep this section beside your seed packets. Fill in local dates before choosing a sowing day.
Last spring frost: __________ First fall frost: __________
Variety / maturity: ____________________ Planned sowing: __________
- ☐ Choose the variety and measure its growing space.
- ☐ Check the soil test, drainage, sun, and water access.
- ☐ Confirm warm soil and a frost-free forecast before planting.
- ☐ Label seedlings; thin and harden off as needed.
- ☐ Check moisture, leaf undersides, and crowns through the season.
- ☐ Open covers for pollination; watch fruit set.
- ☐ Check rind and stem; harvest ahead of freezing weather.
- ☐ Cure sound fruit, inspect stored pumpkins, and freeze recipe portions.
- ☐ Note what ripened on time and what you would change.
What happens next?
Follow the crop rather than treating every month as a deadline:
- Plan: choose a variety whose maturity and space needs fit your garden.
- Plant: use the planting guide once frost danger has passed and the soil is warm.
- Care: follow watering, pollination, and pest checks while vines and fruit develop.
- Harvest: check color, rind, and stem, then cut and cure sound fruit before freezing weather.
- Preserve: decide what to eat this week and freeze the rest in labeled recipe portions.
Keep growing tools for the garden and prep tools for the kitchen. Start with what you have and add supplies only when a specific job calls for them.
Gardening references: Illinois Extension’s pumpkin growing guidance, Maryland Extension’s winter squash advice, and Minnesota Extension’s harvest and storage guidance. Their regional examples should be adapted to your local season.
For the soil-temperature starting point, see Utah State Extension’s pumpkin growing guidance; use it alongside the frost forecast and your seed packet.